Your Guide to Dressing a Waney Edge
We’ve got a special treat for you today, a guide which is a little bit more hands on: your chance to peek behind the curtain and see how the magic happens in our mill.
In recent years there’s been a bit of a trend for furniture and design that embraces the natural qualities of timber. If you use pinterest or instagram you will almost certainly have seen examples; whether it’s tables, desks, shelving units, chopping boards or even internal panelling, waney edges are currently all the rage.
At Thorogood timber we’ve been fans of waney edge timber for a long time now. Not only does the natural edge mean that you can experiment with those organic forms that are bang on trend these days, but you can also maximise yield. The full total width that a live edge board affords you means that you can really play around with how you cut and select timber, with savings to be made in both your wallet and your waste pile.
Suffice to say we’re keen on the wane, so you’ll find plenty of options in our yard if you have a live edged prroject in mind. Sometimes though, with a big , bark covered board in front of you, even the most creative minds can go blank, so if you aren’t exactly sure how to “dress” that waney edge and get that gorgeous bit of timber looking spick and span then this is the guide for you.
Step 1.
Get yourself prepared, you’ll need all the appropriate tools close at hand to get the job done (including a decent brew in our case!). For dressing an edge you’ll need a couple of things
- A cold chisel, mallet and some brute force and ignorance
- A belt sander
- A stiff nylon brush which fits to a drill or a rotary paddle sander
- Some fine-ish grit sand paper (120 to 180 grit will do, you aren’t making a mirror!)
- Some oil or varnish to finish your board with
With all these bits together you’re ready to start. Get your board to a comfortable working height and get on with the fun part…
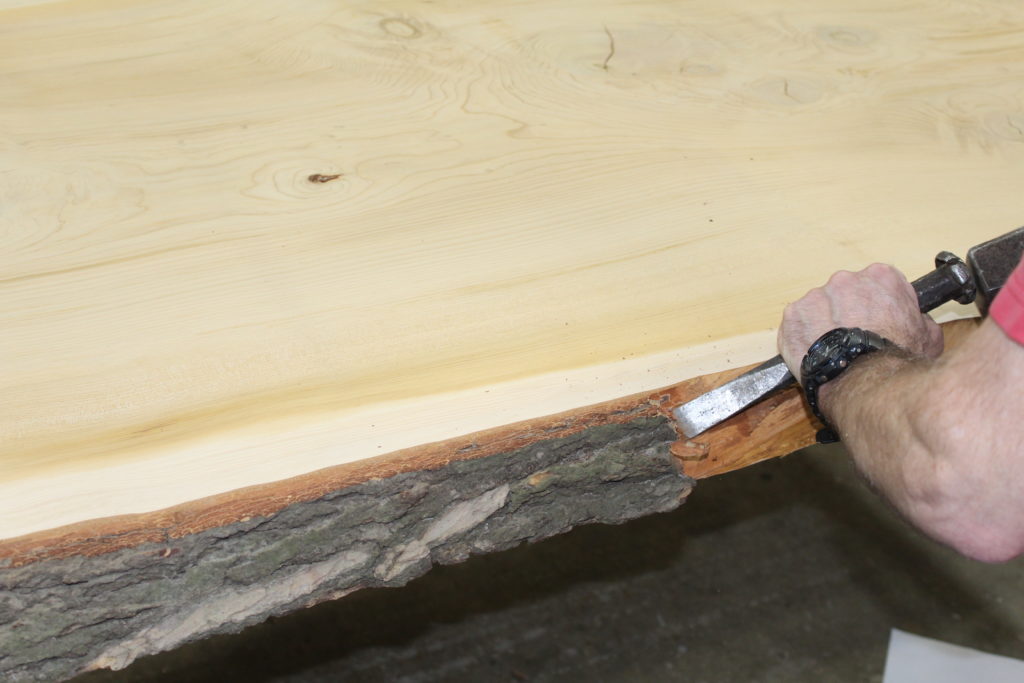
Step 2.
The first thing to do is remove the bark. Now this may not be necessary with some timbers, which due to phyto-sanitary restrictions (getting rid of any bugs and beasties to you and me) are routinely debarked before export, but with others the bark will still be stubbornly attached. Getting rid of the bark means rolling up your sleeves and prying it off by getting under there with a chisel. We’d recommend a cold chisel for this, after all it doesn’t need to be sharp, it just needs to not mind being whacked with a hammer – plus you won’t cut into the timber if you use a blunt tool. Once the bark is all knocked off you might be left with some small patches of cambium stubbornly hanging on, but you can get these off by scraping them with your chisel.
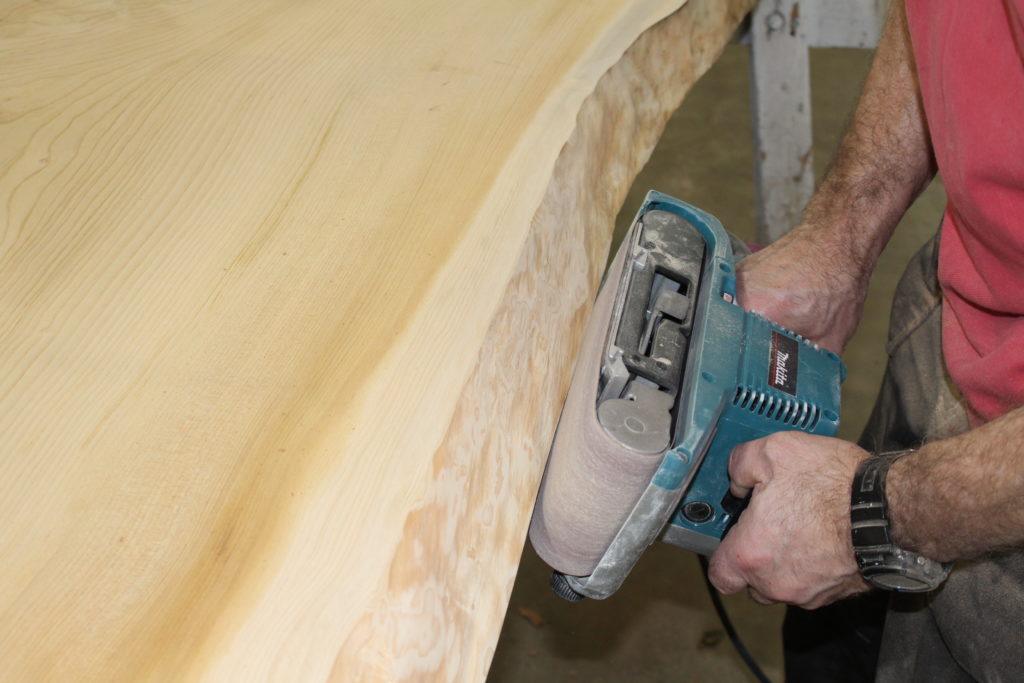
Step 3.
You are now ready to rev up the power tools. Unless you are a responsible adult, this is probably the part of the operation at which you should gracefully bow out – otherwise it’s time to get cracking. Following the grain, work the pad of your belt sander against the contours of the edge until you get a level of finish that you are comfortable with. By applying more pressure you can start to reveal some of the flowery grain in the sap wood of the timber, or you can take a little bit less meat off and you end up with something more uniform. You’ll find that with any big features such as protruding knots and bark inclusion the sander just won’t cut it, so on to step 4…
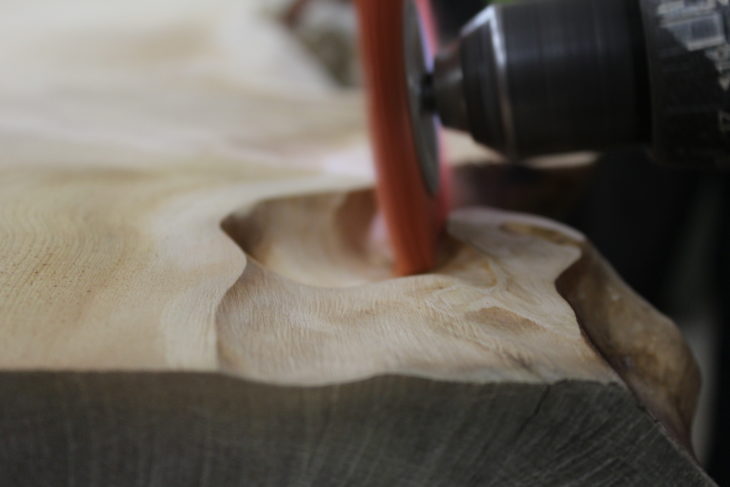
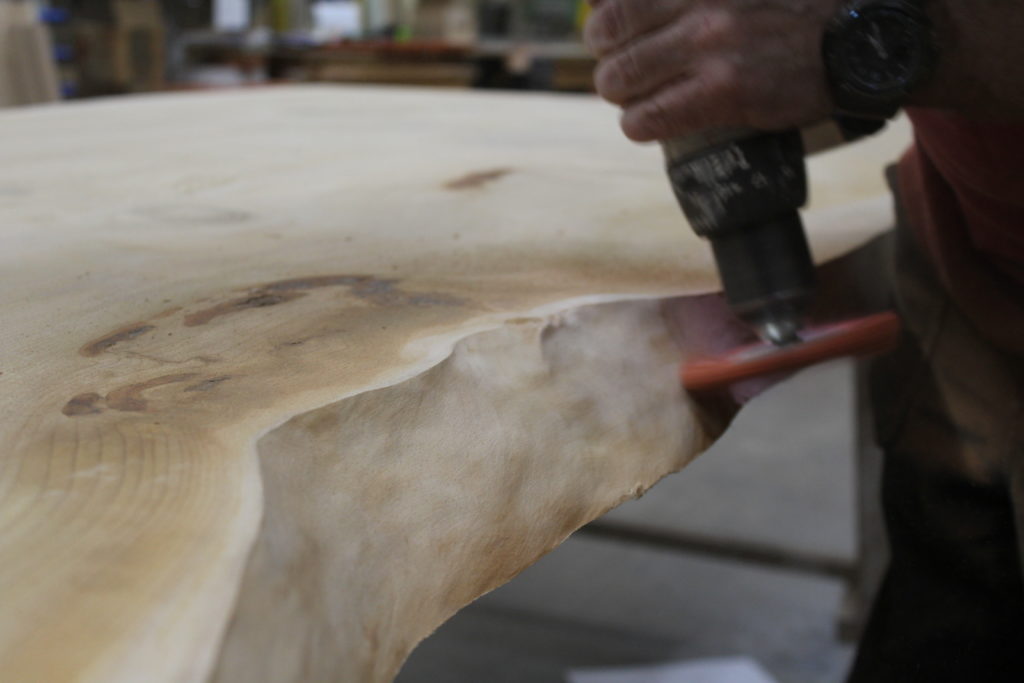
Step 4.
The next tool in our arsenal is the brush or rotary paddle sander. You can use this to scrub out all of the hard to reach nooks and crannies in the timber and remove any of the left over cambium, as well as smoothing it all out a little. It is important to point out that a stiff nylon brush is highly recommended here: steel is not only too harsh, but also leaves traces that will oxidise when you finish the timber, spoiling the colour – a brass bristled brush (try saying that after a few) will still be too harsh and will mark the timber. Once you’ve got everything tidied up you can get your sander out again and, holding it at an angle, sand off the sharp arris (you don’t want any of your dinner guests cutting themselves in half!). Once you’re happy you can more on to the next step.
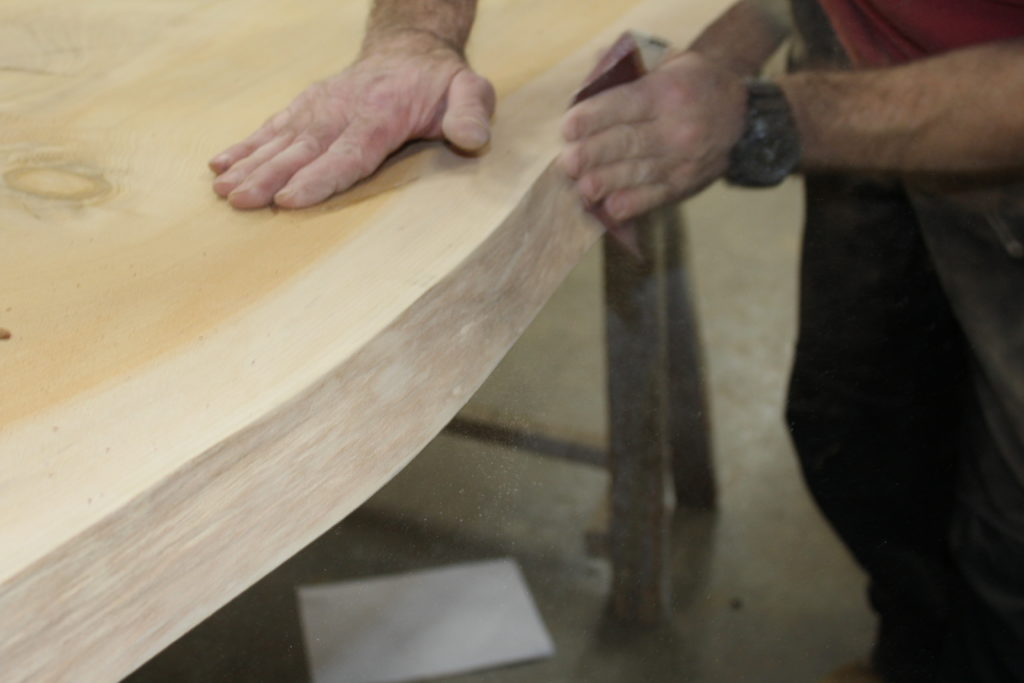
Step 5.
Walk around your board and make sure you are happy with the finish all around. You may want to whack out the big guns, the belt sander or scrubby brush, but at this point you’ll probably be better off with a bit of sand paper held in your very own, god given hand. Give everything a good rub down, and make sure to get into all of the sinuous curves of your freshly dressed boards, but try to not to do it in a way that might be considered unseemly (particularly if there is any one else around). Once you’ve got everything how you want it, you’re ready for the best – and final – step in the process.
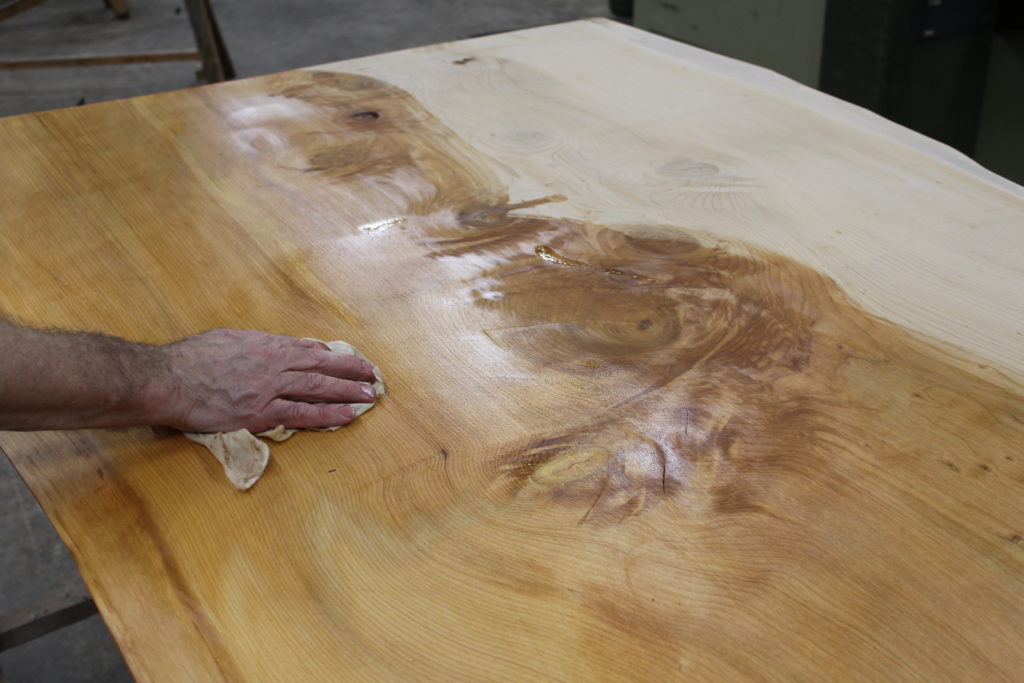
Step 6.
Oiling your board is the most rewarding step in the process, when you’ll see for the first time the full effect of all the work you’ve done up to this point: if you think it looked good before, just you wait. First things first though, tidy up after yourself. Not to sound like your mum, but at this point you have probably produced a fair amount of mess and you really don’t want to have any dust or grub on your board when you start to oil it. Once you’ve got everything ship-shape you can splash a liberal glug or oil onto your board and work it into the grain, follow it’s orientation and make sure that it is worked in evenly. If you use anything other than bog standard finishing oil then follow the manufacturers instructions, lots of finishing products are applied in different ways. After it’s on, give it a bit of time to dry before handling the board any further. In a few hours your finished board should be looking picture perfect and ready for installing wherever your heart desires.
If, of course, you are feeling lazy then your other option is to let us do all of this for you. At Thorogoods we’ve got the equipment and experience to get all of our boards looking their absolute best whether they are going out with the wane intact or with a square edge. If you leave it to us, you can rest assured that your board will be getting the absolute best treatment, leaving you more time and energy to gloat over your brand new table, worktop or shelves.
For more information check out our instagram story of the process and be sure to follow us for more great timber related content!
Guides | 7 years AGO